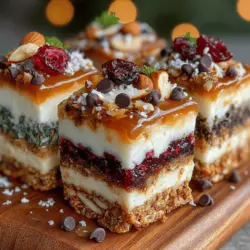
In today’s fast-paced world, finding the perfect snack can often feel like a daunting task, especially when trying to balance taste with health. Enter homemade granola bars—an ideal solution that not only satisfies cravings but also nourishes the body. Among the myriad of recipes available, Maple-Coconut Frozen Yogurt Granola Bars stand out as a delightful and nutritious option. These bars combine the rich flavors of maple syrup and coconut with the creamy goodness of yogurt, creating a treat that is as wholesome as it is indulgent.
The Health Benefits of Maple-Coconut Frozen Yogurt Granola Bars
What makes these granola bars particularly appealing is their composition. Each ingredient is carefully selected to provide a range of health benefits. For instance, rolled oats serve as an excellent source of dietary fiber and energy, making them a staple in any health-conscious diet. Fiber aids in digestion and helps maintain stable blood sugar levels, while the complex carbohydrates in oats offer a sustained energy release—ideal for busy mornings or post-workout refueling.
Unsweetened shredded coconut adds not only a delightful chewiness but also healthy fats that promote heart health. As we dive deeper into the ingredient list, almond slivers contribute a satisfying crunch along with a boost of protein, essential for muscle repair and overall wellness.
When it comes to sweeteners, the choice between honey and maple syrup can significantly impact the nutritional profile of your snack. Both are natural sweeteners that provide antioxidants, but maple syrup boasts a lower glycemic index compared to honey, making it a better option for those monitoring blood sugar levels. Coconut oil, another key component, is rich in medium-chain triglycerides (MCTs), which are known for their quick energy conversion and potential weight management benefits.
Greek yogurt plays a vital role in this recipe, bringing probiotics to the table, which are beneficial for gut health, along with a creamy texture that binds the bars together. For those looking to elevate the flavor further, optional ingredients like dark chocolate chips or dried fruits can add sweetness and complexity, making these bars not only nutritious but also enjoyable.
Preparing Maple-Coconut Frozen Yogurt Granola Bars
Step 1: Preheating the Oven
Before embarking on your granola bar adventure, it’s crucial to preheat the oven. This step is often overlooked, yet it is vital for achieving the perfect texture and flavor. Preheating ensures that your granola mixture bakes evenly, resulting in bars that are crispy on the outside while maintaining a chewy interior. Set your oven to 350°F (175°C) to prepare for the baking process ahead.
Step 2: Creating the Granola Mixture
With your oven heating up, it’s time to gather the dry ingredients. In a large mixing bowl, combine rolled oats, unsweetened shredded coconut, and almond slivers. This combination not only forms the base of your granola bars but also sets the stage for a harmonious blend of flavors and textures. Stir the dry ingredients together thoroughly to ensure even distribution before moving on to the next step.
Step 3: Blending Liquid Ingredients
In a separate bowl, blend your liquid ingredients. Start by mixing maple syrup and coconut oil; you may want to gently warm the coconut oil if it has solidified. Blend these ingredients until they are smoothly combined. The goal here is to create a cohesive mixture that will coat your dry ingredients evenly, ensuring that every bite is bursting with flavor. Once the liquids are well combined, add in the Greek yogurt and stir until the mixture is creamy and smooth.
Step 4: Baking the Granola
Once both your dry and liquid mixtures are ready, pour the liquid into the dry ingredients. Stir everything together until just combined, ensuring that the oats, coconut, and almonds are evenly coated. Transfer the mixture into a lined baking dish, spreading it out evenly to create a uniform layer.
Baking time is critical—place your granola mixture in the preheated oven and bake for about 20-25 minutes. Keep an eye on the bars as they bake; you’re aiming for a golden-brown color that indicates they are perfectly done. The aroma wafting from the oven will be an enticing hint of the deliciousness to come.
These initial steps lay the groundwork for creating Maple-Coconut Frozen Yogurt Granola Bars that are not only healthy but also incredibly satisfying. The careful selection of ingredients and attention to detail in preparation ensure that each bar is a balanced snack that you can enjoy at any time of the day. Stay tuned for the next part of this article, where we will explore the cooling process, storage tips, and how to customize these bars to suit your taste preferences.
{{image_2}}
Yogurt Layer Preparation: Sweetening Options and Achieving the Right Taste
The yogurt layer is the heart of the Maple-Coconut Frozen Yogurt Granola Bars, providing a creamy texture and delightful flavor. You can choose from several sweetening options to enhance the taste of the yogurt. While maple syrup is the star ingredient, other sweeteners can complement its unique flavor.
Sweetening Options:
– Honey: Rich in flavor and helps to achieve a smooth consistency.
– Agave Nectar: A vegan alternative with a mild taste that blends well with yogurt.
– Coconut Sugar: Adds a subtle caramel flavor and pairs beautifully with coconut.
– Stevia or Monk Fruit: For those looking to reduce sugar intake, these natural sweeteners offer a low-calorie option.
When preparing your yogurt layer, start by combining plain Greek yogurt with your chosen sweetener. Taste the mixture as you go, adjusting the sweetness to your preference. For an extra flavor boost, consider adding vanilla extract or a sprinkle of cinnamon. These enhancements can elevate the overall taste without overpowering the maple and coconut notes.
Assembling the Bars: Step-by-Step Guide to Layering
Once you have your yogurt sweetened to your liking, it’s time to assemble the bars. Layering is crucial for both aesthetics and flavor distribution. Follow these steps for successful assembly:
1. Prepare Your Base: After creating your granola mixture, press it firmly into the bottom of your lined baking dish. This will form the base layer of your bars. Make sure it’s evenly distributed for consistent thickness.
2. Spread the Yogurt Layer: Gently spoon the yogurt mixture over the granola base. Use a spatula to spread it evenly, ensuring it reaches the edges of the dish. This will create a nice contrast between the crunchy base and the creamy yogurt layer.
3. Add Toppings: If desired, sprinkle additional coconut flakes, chopped nuts, or even a drizzle of extra maple syrup on top of the yogurt layer. This will not only add flavor but also give your bars a beautiful finish.
4. Final Layer: If you have any leftover granola mix, consider adding a final crunch layer on top of the yogurt. This will help seal the yogurt and enhance the texture when biting into the bars.
5. Smooth the Surface: Use the spatula to smooth out the top layer, ensuring it looks neat and appealing.
Freezing the Bars: Importance of Proper Freezing for Texture
Freezing is a critical step in solidifying your Maple-Coconut Frozen Yogurt Granola Bars. Proper freezing not only helps in achieving the right texture but also enhances the flavors as they meld together. Follow these tips for effective freezing:
– Set the Temperature: Ensure your freezer is set to 0°F (-18°C) or lower. This ensures that your bars freeze quickly, preventing ice crystals from forming.
– Time to Freeze: Allow the bars to freeze for at least 4-6 hours, or until they are completely solid. For best results, overnight freezing is recommended.
– Cover Well: If you plan to freeze the bars for an extended period, wrap the dish in plastic wrap or aluminum foil to prevent freezer burn. This will help maintain flavor and texture.
Cutting and Serving: Techniques for Neatly Cutting and Presentation Tips
Once your bars are frozen solid, it’s time to cut and serve them. Neatly cutting the bars not only makes for a more appealing presentation but also makes them easier to handle for snacking. Here are some techniques:
1. Use a Sharp Knife: A sharp, non-serrated knife works best for cutting through the frozen mixture without crumbling the bars.
2. Warm the Knife: To make cutting easier, you can run the knife under hot water for a few seconds and then dry it off before cutting. This will help glide through the bars smoothly.
3. Cut into Uniform Sizes: For consistent portion sizes, measure and mark where you will cut the bars. A ruler can help if you want precise measurements.
4. Presentation Tips: Arrange bars on a serving platter or wrap them individually in parchment paper tied with twine for a rustic look. Garnish with fresh fruit or a drizzle of yogurt on the side for a colorful presentation.
The Health Benefits of Homemade Granola Bars
Making granola bars at home provides a variety of health benefits that store-bought options often lack. Here are some advantages:
Control Over Ingredients: Avoiding Preservatives and Added Sugars
When you make granola bars from scratch, you have complete control over the ingredients. This means you can avoid artificial preservatives, excessive sugars, and unhealthy fats that are often found in commercial granola bars. By choosing wholesome ingredients, you can create a snack that aligns with your health goals.
Customization Options: Catering to Dietary Preferences
Homemade granola bars can easily be tailored to fit various dietary needs. Whether you follow a vegan, gluten-free, or nut-free diet, you can swap ingredients to create a bar that suits your preferences. For instance, substitute dairy yogurt with a plant-based yogurt alternative, or replace oats with gluten-free grains.
Comparison to Store-Bought Granola Bars: Nutritional Differences and Cost-Effectiveness
When comparing homemade granola bars to their store-bought counterparts, the nutritional benefits are clear. Homemade bars often contain higher fiber content, less sugar, and more protein. Additionally, they can be more cost-effective, especially when buying bulk ingredients. Making your granola bars can save you money while ensuring that you know exactly what you’re consuming.
Serving Suggestions and Pairings
To elevate your snacking experience, consider these creative ways to serve Maple-Coconut Frozen Yogurt Granola Bars:
– Layered Parfait: Crumble bars into a glass and layer with yogurt and fresh fruits like berries or bananas for a delicious breakfast or snack.
– Chocolate Dip: For a decadent treat, dip half of each bar in melted dark chocolate and let them set. This adds richness and a delightful contrast in flavors.
– Nut Butter Drizzle: Drizzle your favorite nut butter over the bars before serving for added creaminess and healthy fats.
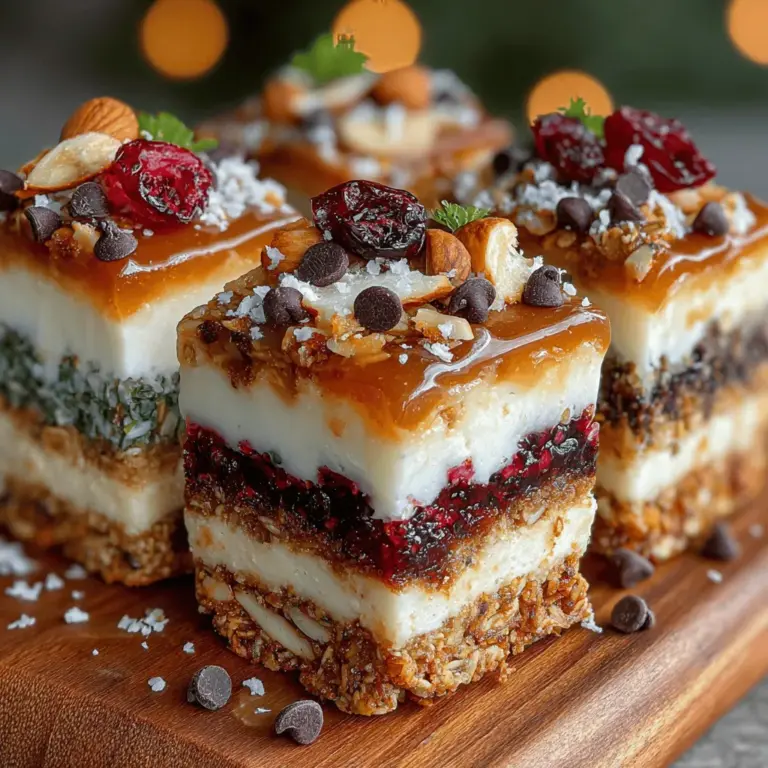
Presentation Ideas for Gatherings or Snacks
If you’re serving these bars at a gathering, consider presenting them on a beautiful wooden board with an assortment of toppings like nuts, dried fruits, and a small bowl of yogurt for dipping. This interactive approach makes for a fun and engaging snack experience.
Pairing Suggestions for a Balanced Snack
For a balanced snack, pair your granola bars with fresh fruits, a smoothie, or a cup of herbal tea. These pairings not only complement the flavors of the bars but also provide additional nutrients to fuel your day.
Storing and Keeping Your Granola Bars Fresh
Proper storage is essential to keep your Maple-Coconut Frozen Yogurt Granola Bars fresh and delicious. Here are some best practices:
– Refrigeration: If you plan to eat the bars within a week, store them in an airtight container in the refrigerator. This will maintain their texture and flavor.
– Freezing for Long-Term Storage: For longer-lasting snacks, wrap each bar individually in plastic wrap or parchment paper and place them in a zip-top freezer bag. They can last up to 3 months in the freezer.
– Thawing: When ready to eat, simply remove a bar from the freezer and let it thaw at room temperature for about 15-20 minutes. This will restore its creamy yogurt texture.
Conclusion
Maple-Coconut Frozen Yogurt Granola Bars are not only versatile and delicious but also an excellent addition to a healthy lifestyle. The control you gain over ingredients allows for tailored nutrition that aligns with your dietary preferences. With endless customization options, you can experiment with flavors and textures, making each batch uniquely yours.
Incorporating these bars into your daily routine can provide a satisfying, nutrient-dense snack that fuels your body. So get creative with flavors, invite friends over for a bar-making session, and enjoy the delightful benefits of homemade granola bars as part of a balanced diet. Your taste buds and your health will thank you!